Pages

Showing posts with label Wedding. Show all posts

Tuesday, January 3, 2012

Personalized Door mat: a Tutorial

Whokay, so I'm back from a like year long hiatus :)
I got promoted at my work last December and sense then I have had little time to blog BUT part of a new year resolution is to make time to blog. I have several projects I did last year that I have wanted to post but never got around to it.
So to start the year off, I wanted to post a cool project I did for my uncle's wedding gift. Okay so don't laugh at me but now that I think of this I actually did this project in October of 2010. Wow so the time sure flies by pretty quick! 
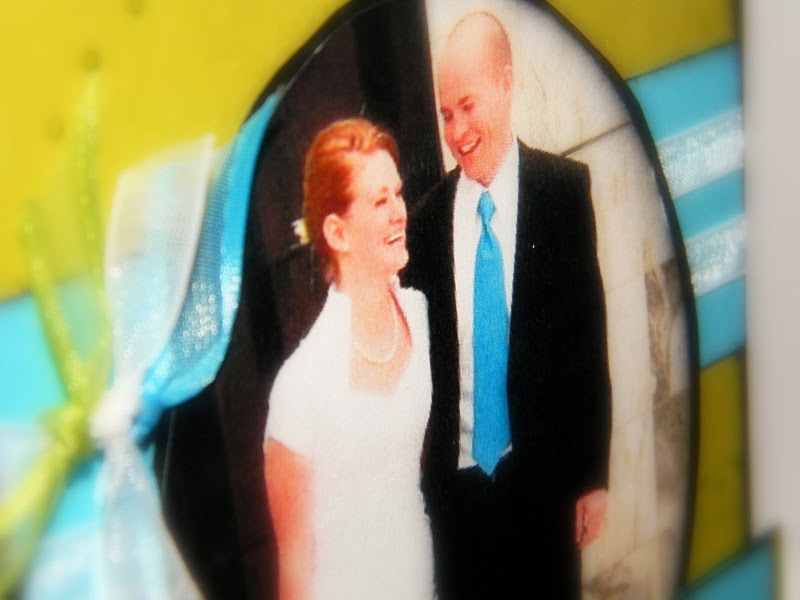
My uncle was married on October 10th, 2010. On their invitation they had this cute little 10.X.10 thing so I really wanted to add it to the gift.
Supplies needed:
Door mat-Walmart like 10 bucks
Black paint
Stencil brush 


I searched Word for the perfect font for the T and this curvy one is what we liked best! My mom is really good at drawing and I knew I would totally screw it up so I had her draw the T onto the mat so I could fill it in with the paint. This would be a lot easier if you could print the letter and trace around it but at the time we did not have access to a printer, just the computer screen to copy from. We tried chalk first so the outline could easily be brushed off, it was a mess and was hard to see. I would suggest to go ahead and use a marker or pen, you will paint over it anyway.
Once we had the outline done it was easy to start filing it in with paint.
You need the stencil brushes to get the paint in all the cracks, using the largest brush made it so easy and very quick to complete.
Once we had the circle done around the letter we let it dry a bit before adding a second coat just to make sure it is nice and black.
Adding the little 10.X.10 symbol was really easy to free hand using a smaller size brush. After it was completely dry I rolled it up and attached the card. It really didn't take that long to dry, maybe a half an hour but if you have more time give it longer before you roll it up.
They loved it and I'm really glad I was able to give a personalized gift that is also very functional.

I'll be back soon with more really great projects I completed last year as well as new ones from this year!
I have a couple BIG projects this year and I can't wait to tackle them this spring!!!


Friday, July 30, 2010

mmmmm

I've made a few things recently that I need to post about!
First off, the Aloha card!
This I made for a friend's wedding reception/baby shower. They were married in December and had a BBQ Luau to celebrate this summer.
I think it turned out super cute I love the palm tree!
So my birthday was earlier this month and I decided to whip up a chocolate cake with strawberry frosting. It was supper yummy!
So here is a great frosting:
Take 1 Strawberry Jello packet and dissolve in a little water or milk then add the powdered sugar, vanilla extract and butter. Tastes great as long as the Jello packet is dissolved otherwise it is very grainy.
It was a very yummy cake, but not very pretty :)
Last weekend I decided to try a new cookie recipe. 
I used a chocolate chip cookie recipe that I have but instead of adding the chocolate chips I added a few chopped up mini-Butterfinger bars! MMMM it was so good!
A couple of weeks ago there was a birthday at my office and one of the girls made these chocolate cupcakes! So I had to snap a few shots!
Doesn't it look delicious!
And the last thing I must share:
D's cake!
He did such a good job on this, he made it all by himself while I was at work then I came home and made some frosting and he decorated it all by himself! I'm so proud of him, it was such a yummy cake!
mmmmmmm

Wednesday, May 19, 2010

Personalized Wedding Card

I was finally able to make a wedding card for our friends! I'm so excited with how it turned out!
I had some ideas floating around but I just couldn't decide on anything. Then when I saw the 411 Sketch I knew that was the perfect design and I am so in love with this card!
Their wedding colors were so pretty, I really wanted to incorporate them into the card. As you can see by his tie the bright blue had to be in there but lime green was also one of their colors. I thought if I used too bright of green on the card it wouldn't look as classy so I went with the darker paper and it's perfect!
I really hope they like the card!
I'm so happy for them!
Don't they look gorgeous together? And so happy!
Congrats guys!

Monday, May 17, 2010

My favorite cookies: a Recipe

I try to bake something at least once a week and I like to try new things each time. But when you get that craving for your favorite cookies you just have to pull out the oats and get baking! These are my most favorite cookies in the world, nothing tops these yummy oatmeal chocolate chip cookies and a tall glass of milk!
Oatmeal Spice Cookies

In a small bowl combine:
1 C Flower
½tsp Salt
1 tsp Baking Soda
1 tsp Cinnamon
½tsp Nutmeg

In a stand mixer add:
¾C Brown Sugar
¾C Chocolate Chips
½C Sugar
3 C Oatmeal
¾ C Butter, softened
1 Egg
1tsp Vanilla extract

Gradually add in flour mixture.
Spoon onto cookie sheet and bake at 350 for 12 mins.
Enjoy with milk!

Make them and enjoy them, they are wonderful!

I was also able to make a few cards this week.
A friend of mine got married last week and so I made a card for them. 
The colors on their wedding invitation were lavender, white and black. Unfortunately I don't have anything lavender at all so I just went with a classic Black and White card. I hope they like it!
I'm so glad I have this wedding stamp set, I've been able to really wear it out this year!

My Uncle's birthday is today so I made him a card this weekend and sent if off in the mail. Boy cards are really hard for me to make. I don't have a lot of stamp sets that are boy and I love to use ribbon which isn't very manly. I think this one turned out really great though even with the ribbon.
The simpler you keep things I think the better when it comes to masculine cards. The over embellishment is what makes them look so girlie I think.
But boys still like the detail you put into a card and appreciate the time and effort to make something just for them. I hope he likes this one!

Until next time.... happy creating!

Tuesday, March 30, 2010

Baking and Card Making!

This past week has been a lot of fun! I was just needing to make something sweet so I pulled out the Jiff Peanut Butter and cranked out these delicious Peanut Butter Cookies! They have got to be the best ones I have ever made. They were quick and easy and so much fun. Mmmmm smelled really good too!
I just added the chocolate chips on top after they came out of the oven because nothing goes better with peanut butter then chocolate!
Friday was my uncle's birthday so I put together this sweet little card for him!
I just love this set and the little bone!
Then the envelope, I always have to put something on it to spice it up. Nothing is more boring then a plain white envelope.
Saturday Danny and I went to a wedding reception for our friends. Their colors were black white and hot pink. It was so pretty! Here is the card I made for them.
I love these little fan things so I made one for the card and used hot pink ribbon to tie on the pearls.
The inside is pretty too, with a little flower in the corner.
And then the envelope!
They had the most delicious cake at the reception. It was chocolate with a peanut butter filling. I decided on Sunday afternoon that I needed to recreate this. It worked pretty well, the filling was perfect. The only problem was that I just had too much of it. When I put the top layer on the cake and started frosting the top with vanilla frosting that was just a little too thin the cake cracked and I got the Grand Canyon right down the middle.
I used toothpicks to hold it up and threw on the mini chocolate chips to hide my mess up. It sure was yummy though, no matter what it looked like on the outside!
That's it for last week! Maybe this week I will have some time to do more fun stuff! We'll see!

Wednesday, March 3, 2010

Wedding season!

Hello, Happy Wednesday!
It seems like I know a ton of people getting married this spring! I will have many more wedding cards to make in the next few months.
This past weekend Danny and I had the opportunity to go to a friend's wedding. I've known this girl sense sophomore year of High School and I was excited to see her get married! So I sat down Saturday afternoon and tried to come up with a card. After scanning blogs for inspiration I found this gorgeous card done by Patti Chesky.
It is so beautiful, I thought this is the perfect idea for a wedding card.
So the colors of our invitation were a dark pink and brown with cream, it was really cute. I wanted to stick with their wedding colors on the card, so I pulled out my paper and actually used a piece from the invitation envelope to complete the card.
Patti used these wonderful little pearls for her card and I loved the idea but I didn't have anything close to that so I just used this yellow ribbon that I had and I think it turned out very pretty, I am very pleased with it. The brown ribbon is actually the back side of ribbon that came on a package I received. The front has this really pretty gold pattern but it just didn't fit for the card so I flipped it, what is really nice is you can still see that pattern through the back but it's a darker brown and I think it really adds to the card.
This cream paper with the pretty brown floral pattern was actually the flap from the envelope of the invitation! It's so pretty, I really hope they like the card!
And of course I had to stamp the envelope. I love this Mr. and Mrs. stamp with the very elegant &! It makes me so happy! I hope they love the card just as much as I do.


Weddings are so much fun!