Pages

Sunday, January 22, 2012

Sunbeam Play Dough: a Recipe

For anyone that reads this blog that doesn't know what a Sunbeam is; no it is not a beam or ray of sunlight. In our church the Sunbeams are the children age 3 that will turn 4 in the coming year. This year is the first year they are out of Nursery and in Primary with all the other big kids. They are the cutest and best class on the planet! I get the opportunity every Sunday to be in the Sunbeam class with another teacher and we get to teach this great group of kids. There are 8 kids in our class and I wanted to do something special for the kids on their birthday. The only guidelines I wanted to follow were:
1. Quick
2. Easy
3. Inexpensive
The kids are 4 so this shouldn't be too hard right? But with my lack of experience and having no kids myself I didn't quite know what I should do. So I asked a girl at work who in my opinion is awesome with kids and she has four of her own that were 4 once; what would a 4 year old like to get for their birthday that fits my requirements?
PLAY DOUGH!


And from there it was just too dang easy! I pulled out the book, threw together some dough, got a ton of pretty awesome cookie cutters, made a few tags and I am ready for the year baby!!
The first child's birthday was last week so I had to get on this little project pretty quick. I decided to go ahead and make all the tags at once so I have them all and they will be ready when I need them. This will totally come in handy if I forget a birthday is coming up and don't have time to recreate this on the computer. I love it when I think ahead.
Aren't these just so stinking cute, I love it when an idea in my head comes out so well in real life! I decided to use some Mod Podge to glue the label to the jar so it would stick like a real label.
The play dough recipe I have makes a ton of play dough so I only made a quarter recipe and also made it bright blue for Andrew.
Play Dough @ Max Power                          Recipe @ 25%
1 1/2 C. Salt                                                 1/4 C. + 2 T. Salt
5 C. Flour                                                     1 1/4 C. Flour
1/4 C. Oil                                                     1 TB. Oil
2 TB. Cream of Tartar                                 1 1/2 tsp. Cream of Tartar
2 3/4 C. Boiling Water                                 1/2 C. + 3 TB. Boiling Water
Food coloring (optional)                              Food coloring (optional)
Combine salt and flour in a large bowl and mix.
Add oil and cream of tartar.
If desired, add food coloring to boiling water; then pour water into salt mixture.
Mix completely and knead into dough.
Add more flour as needed until dough has reached desired consistency.
Store in an airtight container or bag. (In my case a darling birthday jar.)
 
The only thing left to do now is decide what cookie cutters you want to give away. This was the most difficult part for me because they were all so stinking cute! My advice for anyone wanting to do a project like this, buy a pack for you and a pack to give away. I got this awesome pack of animals at JoAnn's and was able to use my 50% off coupon. Talk about a steal, it was fantastic! Andrew ended up getting a dinosaur and a I believe this one was the cow.
I'm so happy I've got an entire year of Sunbeam birthdays planed and ready to go; the only thing left to do now is wait for May when the next birthdays roll around!
PS: If you would like this gift tag/label shoot me an email: abenchproduction {at} gmail {dot} com and I will be happy to whip it up for you! :) Below is one I made for my niece's birthday coming up.

Wednesday, January 4, 2012

2012 To Do List & FREE PRINTABLES

Do you like to do lists? I love them! I especially like to use them to stay organized and have a place to jot down ideas I have that I want to blog about.
While surfing blogland I found this awesome calendar that I love done by The Tomkat Studio.

I just love the colors and the font and the simplicity of it. What can I say, I have a thing for cute calendars! I also have a thing for to do lists :) So I used the calendar for inspiration. I pretty much wanted a to do list that matched exactly. It took a lot of trial and error and a lot of scanning the millions of fonts on my computer; I don't have the exact same font she used but what I used is close enough for me. And this is how it turned out:

I love them they are just perfect!
I also created a regular to do list for anyone that would like to have one of those as well. I like to hang these on the fridge for the grocery list or whatever else I don't want to forget.
(Sorry, not sure what happened to the green one in the preview but the lists match the colors in the calendar.)
These were all designed to fit a 5x7 size page. The easiest way to print the PDF is to select the "Multiple pages per sheet" option in the Page Scaling drop down:
Then just cut them out and use as needed! I'm going to put mine in a little planner I'm making with the calender from The Tomkat Studio. Maybe I will show that on the ol blog a little later.... I'll have to write that down so I don't forget!
HAPPY 2012!! Here's to staying organized!

to download the calendar go HERE!
to download the things to blog about list go HERE!
to download the to do list go HERE!

ps: I love your feedback; if you download any of my free printables leave me a comment and let me know what you think!


Tuesday, January 3, 2012

Personalized Door mat: a Tutorial

Whokay, so I'm back from a like year long hiatus :)
I got promoted at my work last December and sense then I have had little time to blog BUT part of a new year resolution is to make time to blog. I have several projects I did last year that I have wanted to post but never got around to it.
So to start the year off, I wanted to post a cool project I did for my uncle's wedding gift. Okay so don't laugh at me but now that I think of this I actually did this project in October of 2010. Wow so the time sure flies by pretty quick! 
My uncle was married on October 10th, 2010. On their invitation they had this cute little 10.X.10 thing so I really wanted to add it to the gift.
Supplies needed:
Door mat-Walmart like 10 bucks
Black paint
Stencil brush 


I searched Word for the perfect font for the T and this curvy one is what we liked best! My mom is really good at drawing and I knew I would totally screw it up so I had her draw the T onto the mat so I could fill it in with the paint. This would be a lot easier if you could print the letter and trace around it but at the time we did not have access to a printer, just the computer screen to copy from. We tried chalk first so the outline could easily be brushed off, it was a mess and was hard to see. I would suggest to go ahead and use a marker or pen, you will paint over it anyway.
Once we had the outline done it was easy to start filing it in with paint.
You need the stencil brushes to get the paint in all the cracks, using the largest brush made it so easy and very quick to complete.
Once we had the circle done around the letter we let it dry a bit before adding a second coat just to make sure it is nice and black.
Adding the little 10.X.10 symbol was really easy to free hand using a smaller size brush. After it was completely dry I rolled it up and attached the card. It really didn't take that long to dry, maybe a half an hour but if you have more time give it longer before you roll it up.
They loved it and I'm really glad I was able to give a personalized gift that is also very functional.

I'll be back soon with more really great projects I completed last year as well as new ones from this year!
I have a couple BIG projects this year and I can't wait to tackle them this spring!!!


Wednesday, January 5, 2011

My dream house!

Oh how I wish I had an extra $900,000.00 to buy this wonderful place!
This is my dream house! SERIOUSLY! I want this place so bad!
It is absolutely perfect!


Tuesday, October 19, 2010

Halloween fun!

So Halloween is one of my most favorite holidays. It's so much fun, all the dressing up and cute kids. The fun decorations and the corn mazes. Pumpkins and carving parties. I just love it!!! Fall is my favorite time of year and Halloween marks all of those fun festivities!
I know I moved in August but it's been a weird transition.... so this Halloween hasn't been as festive around our house as I would like. I've been trying to create a fun Halloween mantle so the house seems decorated and in the Halloween spirit but even that hasn't gone very well.... it looks horrible :o)
One thing I am in charge of is decorating the lobby in my office. And this year it's exceptionally cute! I'm glad I am able to have these fun decorations around me all day so I have a little fun to stare at for 8 hours of my day while I'm at work.
That being said, let me show you a few fun things I have done!
I found this great print here, Jessica has made this free printable!!! She so rocks!
So I found a frame, it had a baby blue mat, not working too well for the whole Halloween thing, so I flipped it over added some white paper and black ribbon and we have this:
See now, isn't that just so cute! I love the big fat black ribbon and not only is it cute, it's functional!
(It's covering up those annoying lines because I covered this large mat with 8 1/2 x 11 paper, now you don't see the seams!)
And here it is in it's new home at my work:
Doesn't it sit just perfectly in the little drink station?
I love it and it's so fun and festive! I'm so excited I found this frame, I will be able to swap this print out for others during the year!! Can't wait for the possibilities!
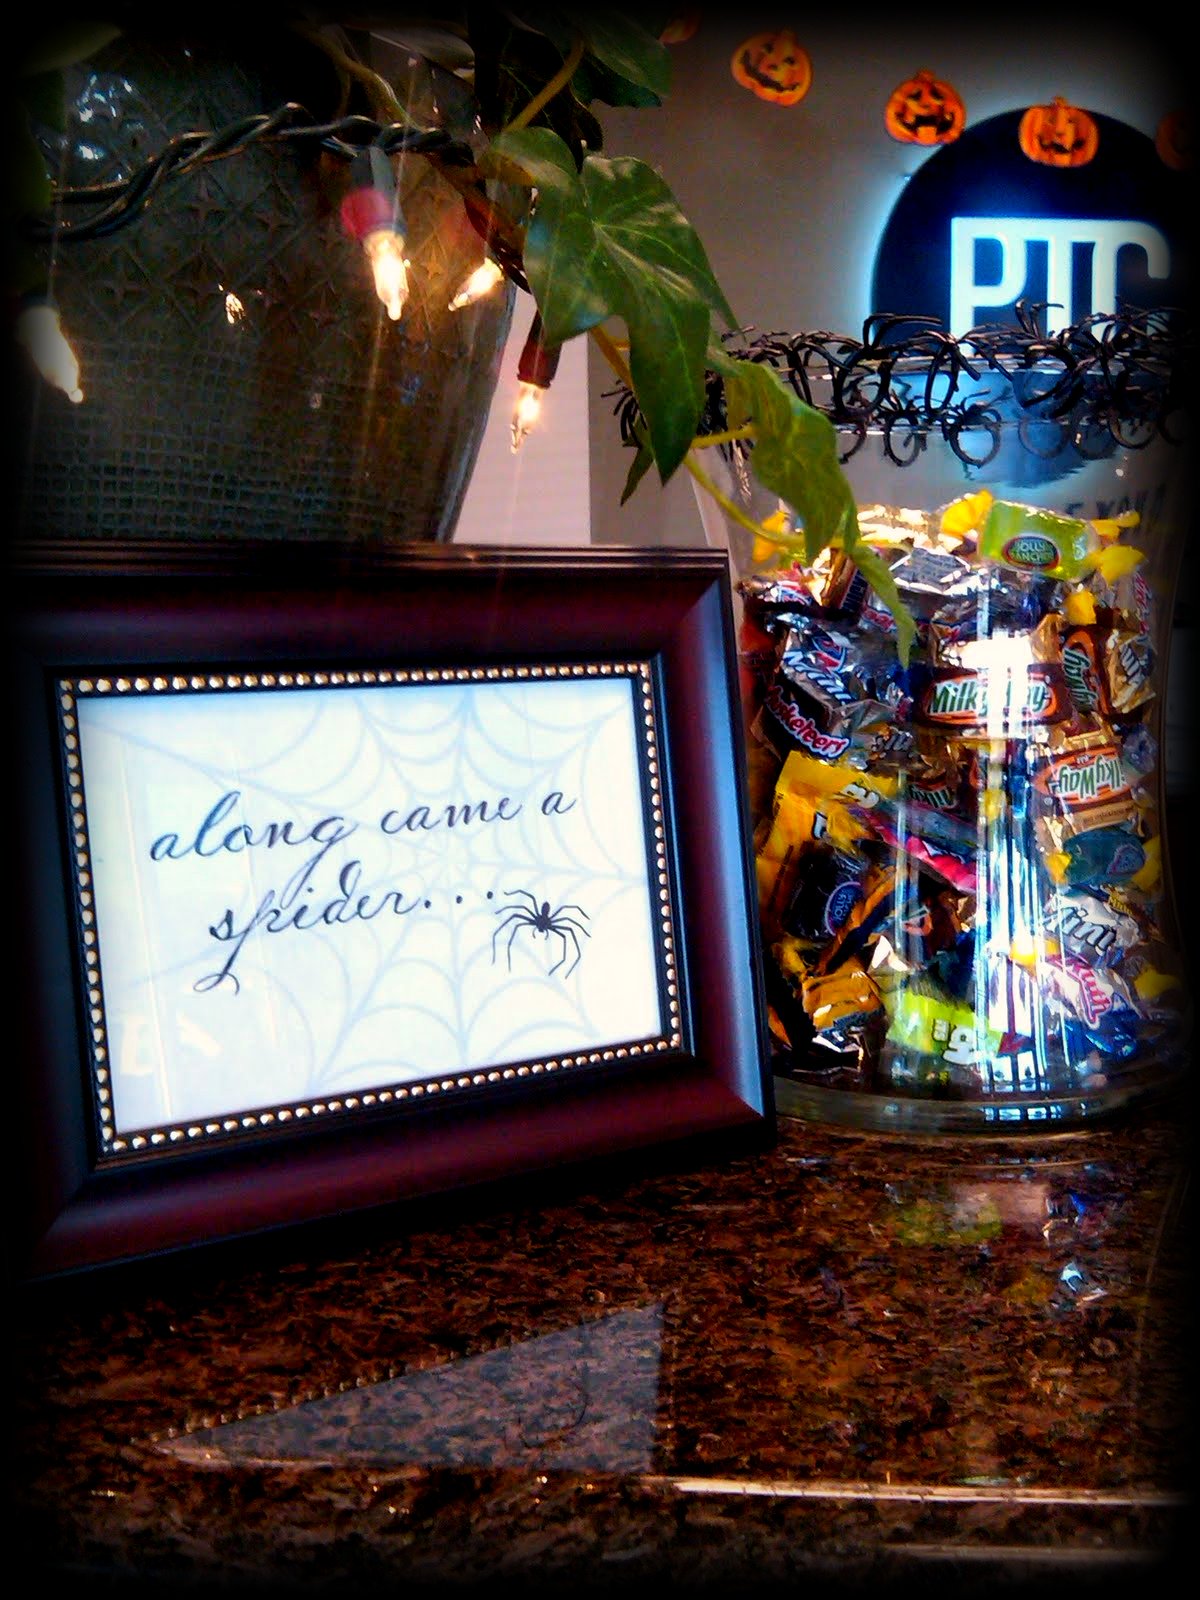
One of the other fun things I've done is this fun little sign from here.
Shelley created this for her awesome Halloween display and I loved it! I took the free printable and created this sign for my home:
And this one in the office!
This was a frame I already had and I swapped out our normal candy box for this great vase that I found, added the spider rings to the rim and as you can see in the background, I hung up a cheesy pumpkin garland. This is an office, there has to be some cheesy decorations when it comes to the holidays!
You can also see, those Christmas lights in the plant above the frame, yes, I put those in last Christmas and no, I have no intention on taking them down. EVER.
You see, I sit right there and look at what would be a boring blank wall, I like the lights, and they are mood lighting... therefore they are year round decoration! And I love it!
When you sit at a computer for 8 hours a day you need things around you that make you happy, this is one of mine!
So, there you have it, Halloween fun around the work place!
Thanks for stopping by, you have seen a glimpse into my office, it's a great place to work! And the decorations make it that much more enjoyable!!


Friday, October 15, 2010

Camera Strap Slipcover


Last week I saw this post by Amanda, she rocks!
I followed all her easy instructions and within an hour I had my strap!!!
This was such a fun project!
Here is my before:
Ya know, a normal plain black strap
And my gorgeous after!
 
Aren't the ruffles just so cute! I love it!!!!
I can't wait to make another one.
So go here and learn how to easily make this project yourself!

Friday, October 1, 2010

BUTTON, BUTTON

who's got the Button?
I DO!! I DO!!


I'm pretty excited about this! I just figured out how to create a button today!
So... if you want it, take it!
It's on my sidebar :o)